Using git-latexdiff for paper rebuttals
As the title already suggests, the following post assumes that you write your research papers with LaTeX (or XeTeX / LuaTeX / …). If you are in one of the unfortunate fields of science that insist on using Word to write papers, your best bet is probably to use the built-in “track changes” feature?
When you write a rebuttal for a research paper, you usually have to attach a revised version of your manuscript where you have marked all the changes that you have made.
Talking to some of my colleagues at work recently, I was surprised to learn that many people seem to do this manually: For example, when they change a sentence, they delete the old one and write the new one in bold, using \textbf{}.
Obviously, this is a strategy that works, but it is not very efficient:
If you go through several rounds of changes or revisions, it quickly becomes difficult to keep track of what is “new” (and relative to what), and of course, once your manuscript is accepted, you have to go through it again to remove all the commands you added to mark up your changes.1
Fortunately, there is a better and easier way, at least if your manuscript lives in a git repository, which is the case for everything you write on Overleaf.
The One solution is called git-latexdiff.
It is a small but powerful tool that allows you to create a diff between two different states (commits) of your document and automatically render it into a PDF showing exactly what has changed and where.
This means that if you are revising your manuscript for a resubmission, you can just edit away without marking any changes yourself, and when you think you are done, run a single command and get your annotated PDF with everything that is different from the original submission / commit.
It even handles documents that consist of multiple input files, and takes care of changes in your references!
(Terms and conditions apply, see below.)
I like to wrap the magic command into a little script, which looks as follows:
echo "";

# Get latest version from upstream (e.g., Overleaf)
# If you are only using a local git repository, this is not needed
printf "Running git pull... "
git pull --quiet;
printf "Done!\n"

# Create new folder for diff
mkdir -p diff;

# Find all changes and create a PDF where they are marked
git latexdiff \
  --main main.tex \
  --tmpdirprefix ./diff/ \
  --cleanup keeppdf \
  --whole-tree \
  --latexdiff-flatten \
  --bibtex \
  --view \
  <commit-hash-of-submission>

echo ""
echo "Created PDF with diff!"
echo ""
This will compare the current HEAD of your repository against the given commit.
You do not even need the commit hash; git-latexdiff also supports git tags for some extra convenience.
If you use Overleaf, you might be interested in the following little hack. Unfortunately, the “label this version” feature in Overleaf does not create a tag, it just creates a new commit with the name of the tag as the commit message. This is still useful, though, because if you don’t want to manually dig through your git history to find the hash of a particular version, you can replace the commit hash in the above script with this little snippet, which will do the job for you:
$(git log --grep="^<label_name>$" --format="%H")
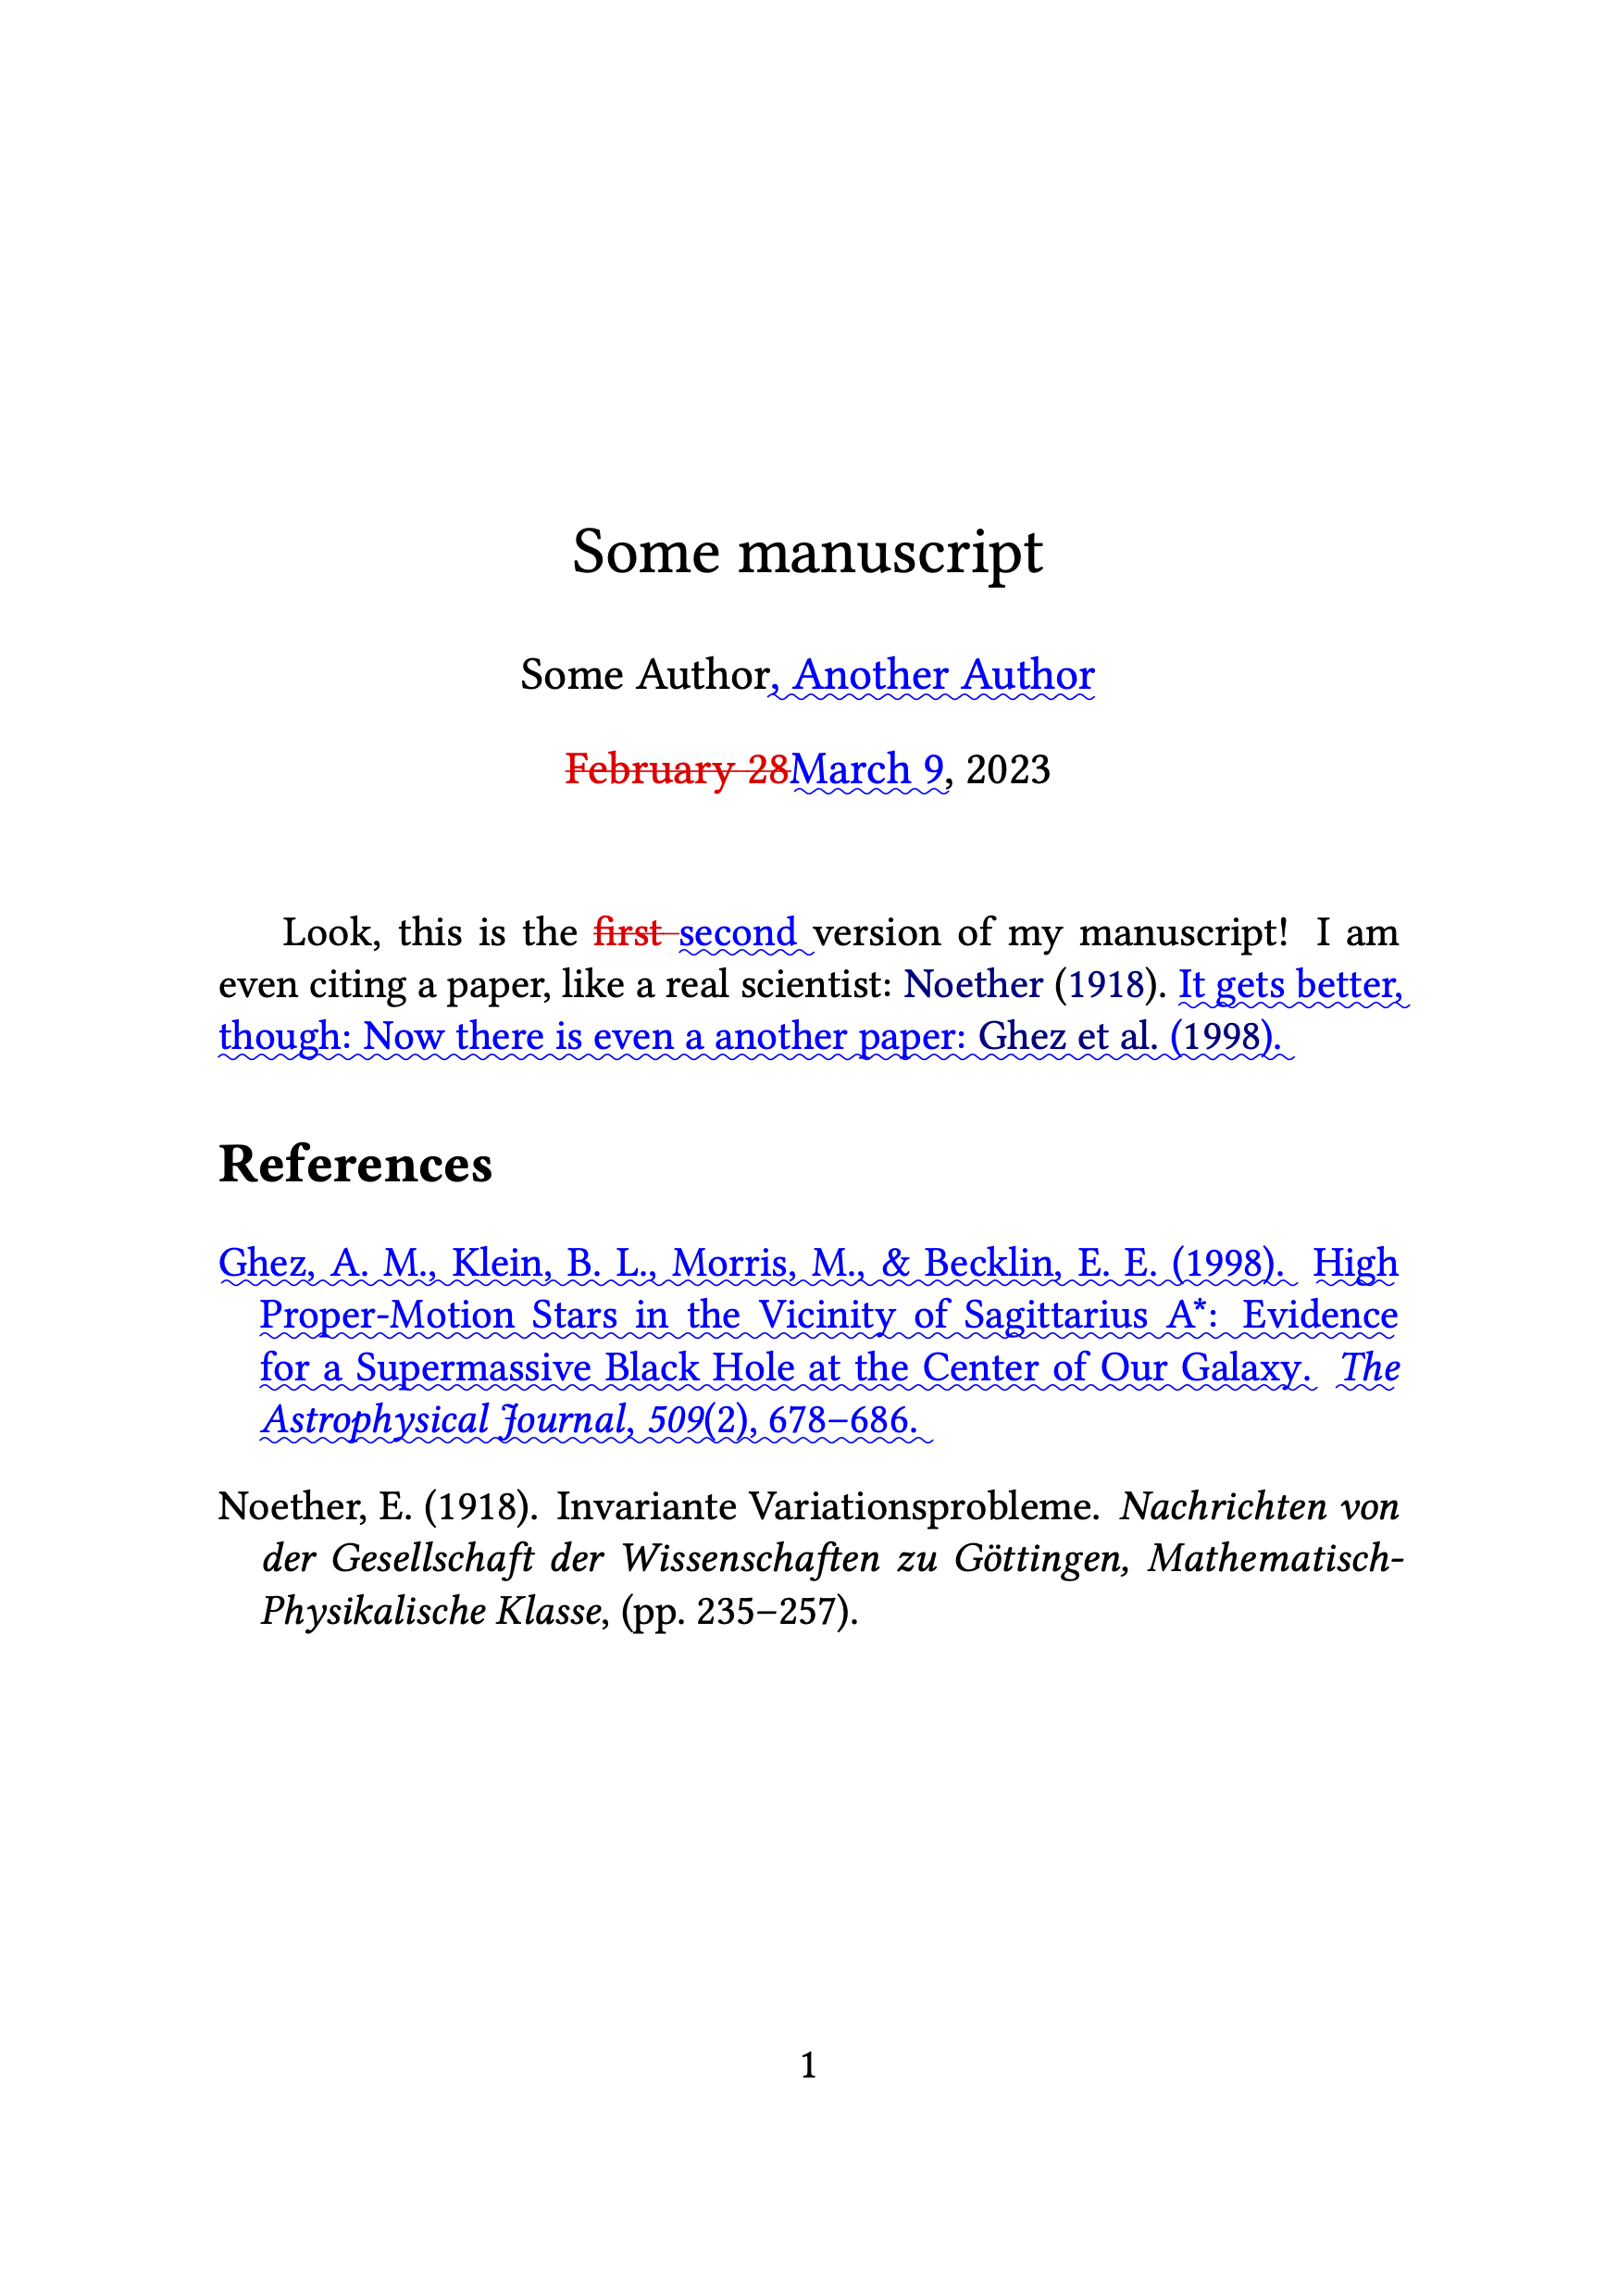
Finally, to illustrate the whole concept also visually, here is the output of git-latexdiff on a little example repository, which you can download here in case you want to play around with it2:
While I very much like git-latexdiff and how it allows me to automate away a tedious task, I will let you know that it is also not perfect.
For example, handling bibliographies that are created with biblatex and biber can be an issue, even though there exists a special --biber flag.
“Luckily”, many journals have not updated their LaTeX templates in a long time anyway, and require you to use bibtex or natbib instead of biblatex and biber.
For what it is worth, I can confirm from personal experience that the script above does work with the templates used by A&A and ApJ ;-)
As for alternatives, there is, of course, the original latexdiff, which is what git-latexdiff uses internally.
The original tool is file-based, but there is also a latexdiff-vc, which works with different version control systems.
It basically solves the same problem as git-latexdiff, but I recall that I could not quite get it to work the way I wanted the last time I looked at it—which does not necessarily mean much, so do not let yourself be discouraged from giving it a try.
Also, if you have a workflow that also works with biblatex, please feel free to let me know!
-
Now, unless you are a complete masochist, you hopefully did not use the vanilla
\textbf{}to mark your changes, but at least defined a new macro, like\newcommand{\changed}[1]{\textbf{#1}}, which you can then either efficiently search for to remove it, or simply overwrite again as\newcommand{\changed}[1]{#1}. ↩︎ -
You should be able to compile the example using the usual conjuration of:
pdflatex main && bibtex main && pdflatex main && pdflatex main. ↩︎